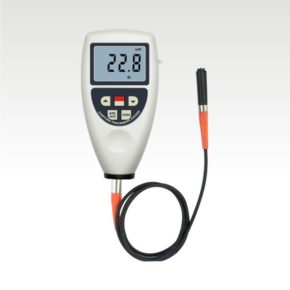
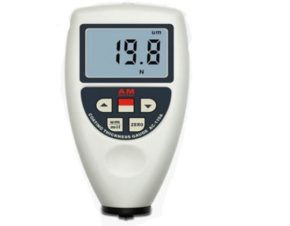
Description
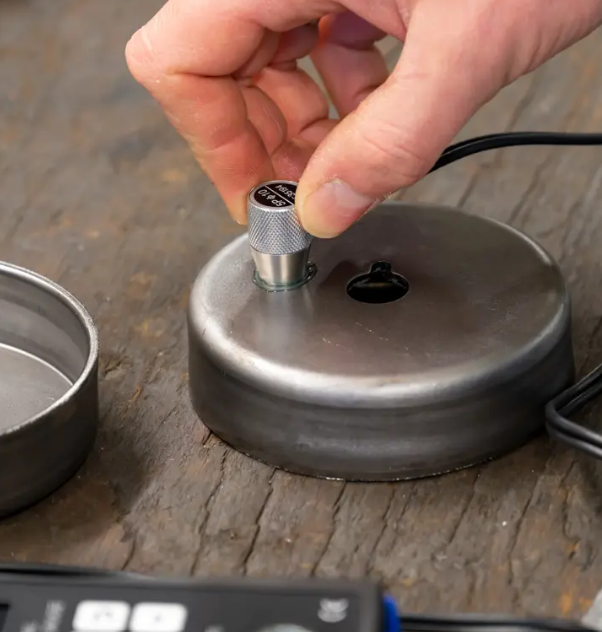
Calibration reference mounted on the housing / Material thickness measurement up to 225 mm /
Limit alarm / Optional ISO calibration certificate
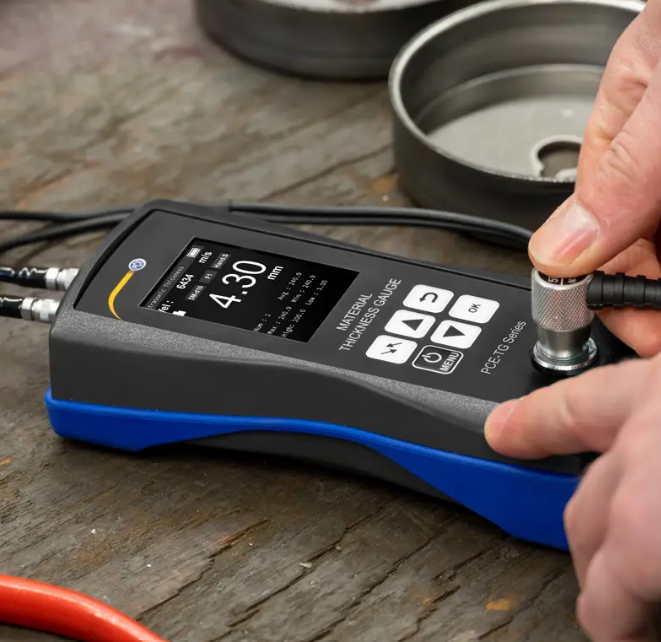
With the limit value function in the thickness meter, individual maximum and minimum values can be stored. If the measured value of the test piece is outside the limits, the thickness meter signals this visually. If necessary, the signaling can also be done acoustically by the thickness meter in addition to the visual display. This is why the thickness meter is used, for example, in quality assurance and in incoming goods inspections.
The thickness meter has a data memory on which the measured values can be recorded. After a measurement sequence, the stored measurement values can be analyzed directly on the thickness meter. The stored data are graphically displayed by the thickness meter. In addition, each individual measuring point can be approached and read in the graphics of the thickness meter. For a simplified analysis of the measured values, the average, the largest and smallest measured value is displayed on the thickness meter. The thickness meter can optionally be equipped with an ISO calibration certificate.
– Measured value memory
– Calibration reference on the housing
– Automatic shutdown
– Material thickness measurement up to 225 mm / 8.85″
– Battery status indicator
– Optionally with ISO calibration certificate


