Description
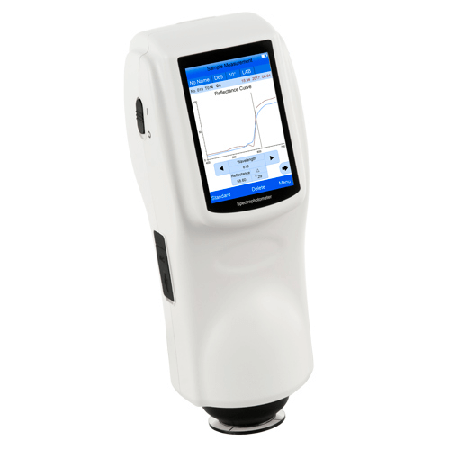
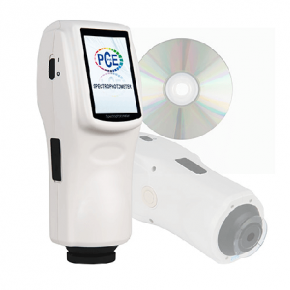
Spectrophotometer PCE-CSM 10 for quality control / PC software included / Li-ion battery / different colour spaces / black and white calibration / determination of reference values and samples / white calibration / 3.5″ touch screen
The spectrophotometer PCE-CSM 10 was developed for quality control, offers a high accuracy and comes with a 3.5″ touch screen display. When using the spectrophotometer, you can choose between different colour spaces (CIE LAB, XYZ, Yxy, LCh, CIE LUV, HunterLAB). After a measurement with the spectrophotometer, the reading can be used as a reference value while other readings can be recorded as a sample and later be compared to the reference value easily.
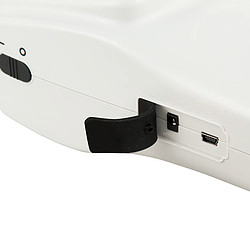
In addition to the individual colour space coordinates, the deviation between the reading is also displayed. When using the spectrophotometer, it is possible to store up to 1000 reference values and up to 15,000 samples on the device. The measured data can also be transferred to a PC via the USB interface. A special PC software is included in the package.
– black and white calibration
– determination of reference values and samples
– 3.5″ touch screen display
– high accuracy
– easy to use
– incl. PC software
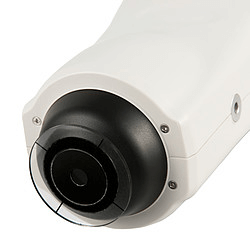
– 8 mm aperture
| Measuring geometry | 8°/d |
| Measuring aperture | Diameter 8 mm |
| Integrating sphere | Diameter 58 mm |
| Sensor | Silicon photoelectric diode |
| Wavelength range | 400 … 700 nm |
| Reflection factor range | 0 … 200 % |
| Colour spaces | CIE LAB, XYZ, Yxy, LCh, CIE LUV, HunterLAB |
| Colour index | ΔE*ab, ΔE*uv, ΔE*94, ΔE*cmc(2:1), ΔE*cmc(1:1), ΔE*cmc(l:c), CIE2000, ΔE*00, ΔE(h) |
| Chromacity data | WI (ASTM E313, CIE/ISO, AATCC, Hunter) YI (ASTM D1925, ASTM E313) TI (ASTM E313, CIE/ISO) Metamerism Index Mt colour stain, colour fastness |
| Observation angle | 2° / 10° |
| Measuring time | 1.2 seconds |
| Light source | D65, A, C, D50, D55, D75, F1, F2(CWF), F3, F4, F5, F6, F7 (DLF), F8, F9, F10 (TPL5), F11 (TL84), F12(TL83/U30) |
| Light source device | combined LED |
| Repeatability | Standard deviation within ΔE*ab 0.04 Average of 30 measurements of standard white plate |
| Error between equipment | ΔE*ab 0.2 |
| Display functions | Spectral value/graph, colorimetric value, colour difference (value/graph), PASS/FAIL result, colour offset, colour simulation, colour index settings (ΔE*94, ΔE*cmc, ΔE*2000), error limit settings, time settings, language settings, restore factory settings |
| Display | 3.5″ TFT touch screen |
| Interface | USB / RS-232 |
| Storage | 1,000 reference values, 15,000 samples |
| Power supply | Rechargeable lithium-ion battery 3.7 V at 3,200 mAh |
| Life of light source | 5 years, > 1.6 million measurements |
| Operating conditions | 0 … +40 °C |
| Storage conditions | -20 … +50 °C |
| Dimensions | 90 x 77 x 230 mm |
| Weight | 600 g |

